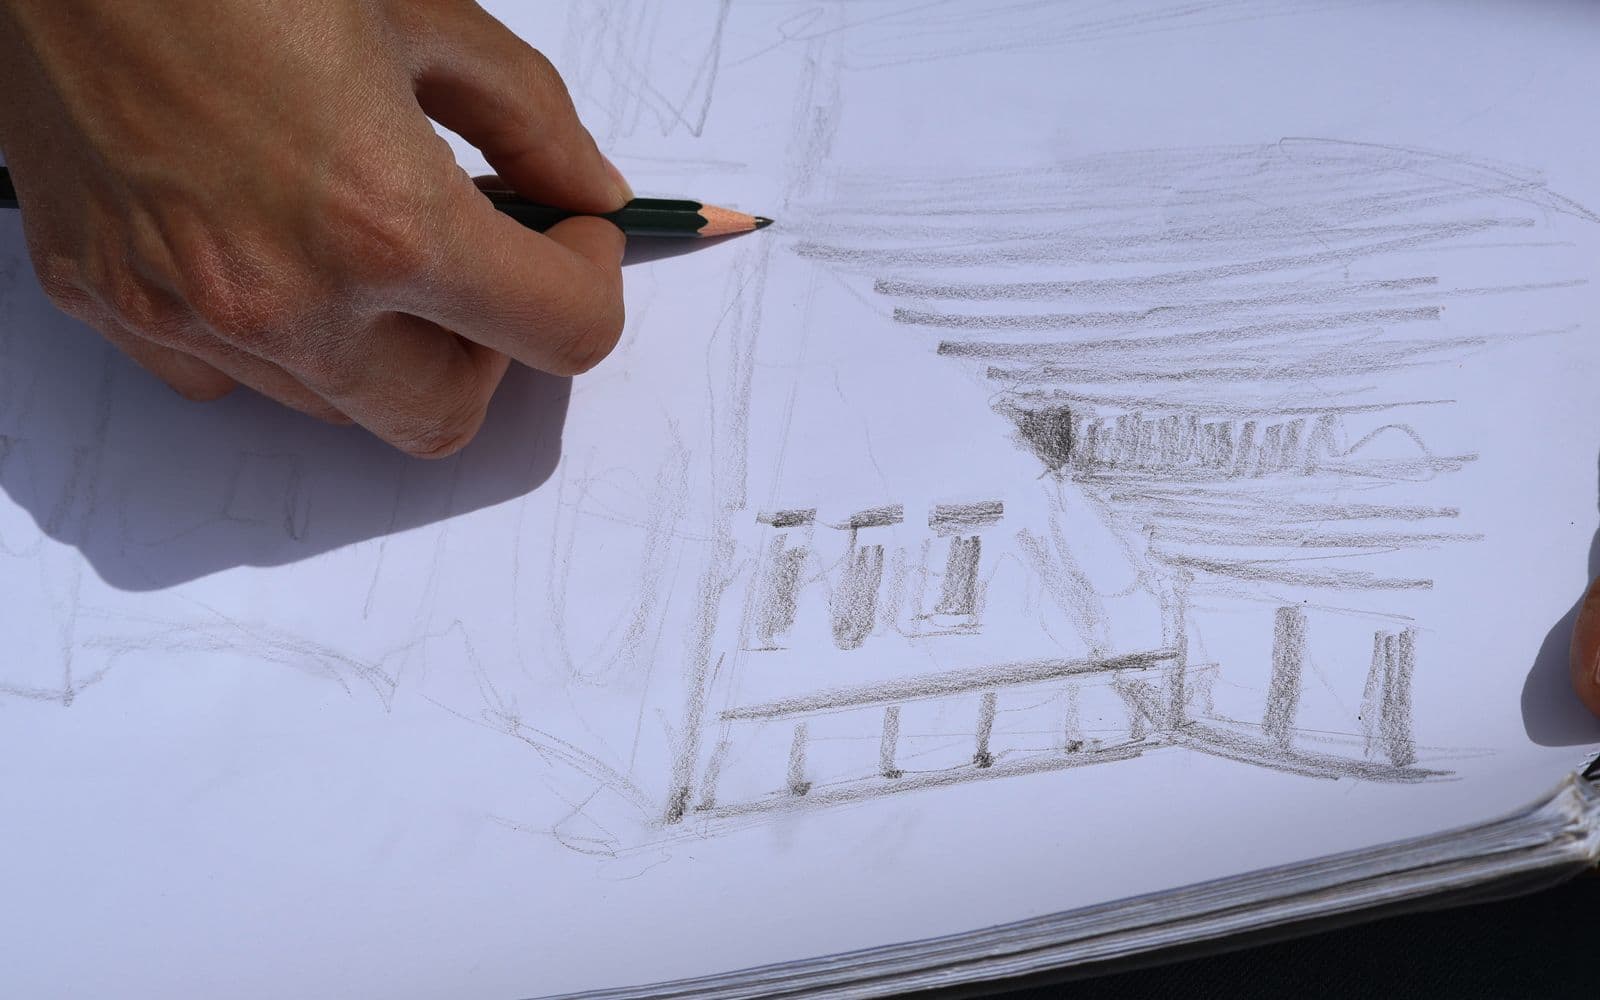
Most adults who "can't draw" stopped at age ten and never got a single hour of actual instruction afterward. What feels like a missing gift is mostly an untrained way of seeing — and seeing is teachable. This is a thirty-day plan: cheap kit, five core skills, twenty minutes a day, and a strategy for surviving the ugly pages every beginner produces.
This is a skills plan, not art therapy and not a treatment for anything. If drawing is physically uncomfortable — tremor, joint pain, vision changes — an occupational therapist or optometrist is the right first stop, and most exercises here can be adapted afterward. And if a harsh inner critic makes any visible beginner effort feel unbearable, that voice is worth taking seriously in its own right; a sketchbook is a good place to practise being bad at something safely, but it is not a substitute for support.
This is the twenty-eighth guide in the How To methods library,[1] and it runs like the others: the real diagnosis first, then a method, then a day-by-day plan you can actually follow.
Part One: It Is Not Your Hands
Start with the finding that should retire the talent myth. When researchers analyzed why untrained adults draw objects wrong, the biggest source of error was not shaky hands or poor motor control — it was misperceiving the object itself. People draw what they think the thing looks like, not what is in front of them.[2] Your brain stores a symbol — "eyes are almond shapes halfway up the head" is true, but the symbol you draw is the one you learned at seven.
Studies of skilled artists point the same direction from the other side. Experts do not move their hands faster; they break contours into smaller segments and check the reference more often — a strategy anyone can copy.[3] Skilled drawers are measurably better at encoding the structure of what they look at,[4] and reviews of the drawing literature conclude that errors arise at identifiable, trainable stages — how you look, what you remember for the two seconds between glances, and how you move the pencil — not from a missing gene.[5]
| What your drawing does | What is actually failing | The fix |
|---|---|---|
| Faces look like cartoons, hands like mittens. | You are drawing stored symbols, not the thing in front of you.[2] | Seeing exercises: blind contour, negative space, measuring. Week two. |
| Long confident lines that land in the wrong place. | Too much line per glance. Experts draw shorter segments and look more.[3] | Short segments, frequent checks. Week one and every week after. |
| Everything looks flat. | No value structure — you have been drawing outlines only. | Value scales and form shading. Week three. |
| You cannot draw from imagination. | Nobody can at first. Imagination drawing is recombined observation. | Construction and reference habits. Week four and beyond. |
Buy cheap materials so nothing feels precious. Practise twenty minutes a day — short daily sessions beat weekend marathons. Spend the first week on line control, the second on learning to see (blind contour, negative space, measuring), the third on value, the fourth on construction, honest copying, and one finished piece. Run each session as a loop: warm up, work one specific weakness against a reference, compare, note one thing to fix tomorrow. Keep every page, date them, and photograph your work on days one, ten, twenty, and thirty — the comparison photos are the antidote to the ugly-page despair. Talent is not the entry fee. Attendance is.
Part Two: The Kit — Cheap on Purpose
Expensive materials sabotage beginners twice: they make every page feel like it has to justify the paper, and they postpone starting behind a shopping project. The whole kit should cost less than a pizza.
| Tool | What it is for | What to skip for now |
|---|---|---|
| Two pencils: HB and 4B (or one cheap mechanical) | Line work and darker values. | The 12-pencil graphite set. You will not use it yet. |
| One ballpoint pen | Line-confidence work — no erasing allowed. | Fineliner sets, brush pens, ink bottles. |
| A5 or A4 sketchbook, 100+ pages, cheap paper | Volume. This book is for mileage, not masterpieces. | The beautiful hardcover you will be scared to ruin. |
| Kneaded eraser | Lifting graphite for highlights; less paper damage. | Electric erasers, blending stumps. |
| Your phone camera | Shooting your own reference photos and progress records. | Tablets and styluses. Paper first; pixels later. |
One HB pencil, one 4B, one ballpoint, a kneaded eraser, and the cheapest 100-page sketchbook you can find. If the sketchbook cost enough that ruining a page would sting, it is the wrong sketchbook.
Part Three: The Five Skills Under Every Drawing
"Learning to draw" is vague enough to be unlearnable. These five sub-skills are not. Every exercise in the thirty-day plan trains one of them, and the classic exercises come from a century of atelier teaching — gesture and blind contour from Nicolaides' 1941 curriculum,[6] negative space and edge-focused seeing popularized by Edwards.[7] (Edwards' left-brain/right-brain framing has not survived as neuroscience, but the exercises themselves remain standard issue for a reason: they force you to look.)
| Skill | What it trains | Core exercise |
|---|---|---|
| Line control | Making the pencil do what you intended. | Pages of straight lines, curves, and ellipses; connect-the-dots you place yourself. |
| Seeing | Drawing what is there instead of the stored symbol. | Blind contour: draw an object's edge without looking at the paper.[6] |
| Shape and proportion | Getting the big relationships right before details. | Negative space: draw the holes and gaps around the object, not the object.[7] Pencil-at-arm's-length measuring. |
| Value | Light and shadow — what makes flat marks read as form. | Five-step value scales; shading a sphere and a box from one light source. |
| Construction | Building complex things from boxes, cylinders, and spheres. | Draw boxes in perspective; turn them into mugs, books, buildings, birds. |
Gesture — the loose thirty-second capture of a pose's energy — is the sixth skill, and worth folding in from week two: it is the antidote to the stiff, laboured line that comes from fear.[6]
Part Four: Design the Practice, Not Just the Drawing
How you schedule practice matters as much as what you practise. The distributed-practice literature is one of the most robust findings in learning science: the same total hours produce more durable skill when spread out than when crammed.[8] Twenty minutes a day beats a three-hour Sunday session that leaves you sore and discouraged — and it beats it while feeling easier.
Within each session, borrow the structure of deliberate practice: target a specific weakness, work it against feedback, and adjust.[9] For a self-taught adult the feedback is comparison — hold your drawing next to the reference and hunt for the three biggest differences. That comparison step is the practice. Skipping it turns drawing into repetition, and repetition without feedback plateaus fast.
One calibration so the grind stays sane: practice is powerful but it is not the whole story, and the "10,000 hours to mastery" folklore badly overstates the case — meta-analytic work finds practice explains a real but modest share of skill differences.[10] The goal of this plan is not mastery. It is competence and pleasure: drawings you like making, visibly better in thirty days. That is squarely purchasable with attendance.
- Warm up, three minutes: one page of lines, curves, and ellipses. Loose arm, no stakes.
- Main exercise, twelve minutes: the day's drill from the plan, working from a reference.
- Compare, three minutes: drawing next to reference. Name the three biggest differences out loud or in the margin.
- Free draw, one minute: anything, badly, for fun. End on play.
- Log one line: date, exercise, the one thing to fix tomorrow.
Part Five: Make It Automatic Before Making It Good
The plan fails without a fixed slot, so give it one with an if-then plan — the same tool that moves goal completion in meta-analyses across nearly a hundred studies: When [existing daily event], I will draw for twenty minutes at [place].[11] After-dinner table, morning coffee, lunch desk — the cue matters more than the hour.
Expect roughly two months before the slot feels automatic — new routines took an average of about 66 days to plateau in the classic field study, and missing a single day made no measurable difference.[12] Thirty days does not finish the habit. It finishes the proof that you can do it, which is the part adults are missing.
Write yours now
When ______________ (daily event), I will draw for twenty minutes at ______________ (same place every time), with my sketchbook and pencils already sitting there from the night before.
Part Six: Copy Like a Student, Not a Forger
Somewhere along the way "don't copy" became beginner advice, and it is exactly wrong. Copying is how ateliers taught for centuries, and modern evidence backs the tradition: in controlled studies, copying an unfamiliar artist's work led people to produce more creative drawings afterward, apparently by loosening their default habits and revealing new procedures.[13]
The honest copying rules
1. Copy to learn, not to display: annotate the copy with what you noticed — where the artist simplified, where the darkest dark lives.
2. Copy artists whose style is beyond you and photos you took yourself. Both are legal and useful; your own photos also build the reference habit.
3. If you post a study of another artist's work, say so and name them. Copies are homework, not portfolio.
4. Alternate: one copying day, one drawing-from-life day. Copying teaches solutions; observation teaches problems.
Part Seven: Build the Reference Habit
The fastest way to expose the difference between drawing and guessing is to name where the image is coming from. There are only three sources: the thing in front of you, a photo, or memory. Beginners default to memory — and memory is exactly where the stored childhood symbols live.[2] Professionals, meanwhile, use reference constantly and without embarrassment. The amateur superstition that "real artists draw from imagination" reverses the actual workflow: imagination drawing is a late skill built from thousands of observed drawings, not a purer alternative to them.
| Source | Best for | Watch out for |
|---|---|---|
| Life (the object on your table) | Training the eye. Depth, subtle value, true colour — no lens has flattened it yet. | Nothing. This is the gold standard; use it whenever the thing is available. |
| Your own photos | Subjects that will not sit still, awkward vantage points, building a personal library. | Shoot with one clear light source when you can; flat phone flash makes flat drawings. |
| Other people's photos | Poses, animals, places you cannot access. Use photo-reference sites that license for artists. | Copyright if you publish the result, and the subtle lie that a pre-composed photo already solved the composition for you. |
| Memory | End-of-session play, testing what has actually sunk in. | Everything. Expect symbols to reappear; that is the diagnostic, not a failure. |
The pocket reference library
Make a photo album on your phone called "Draw this." All month, collect: three objects with strong single-source light, two doorways or corridors, one tree, one chair, two hands (yours), and anything that stops you on a walk. By day 25 you will have a personal reference shelf that no algorithm curated — and choosing tomorrow's subject stops being a decision.
Part Eight: The Thirty-Day Plan
Twenty minutes a day, six days a week, one rest day. Each week has a focus, and every exercise comes from Parts Three and Four. This table is the download version:[1] print it and clip it inside the sketchbook cover.
| Week | Focus | The days |
|---|---|---|
| 1 | Line control and shapes | Days 1–2: line pages — straights, curves, ellipses, pen only, no erasing. Day 3: place two dots, connect with one confident stroke; repeat small and large. Days 4–5: pages of boxes and ellipses; overlap them, keep corners honest. Day 6: draw your mug using only short segments, checking the mug after every stroke. Day 7: rest, or free draw. |
| 2 | Seeing | Day 8: blind contour of your non-drawing hand — no looking at the paper, guaranteed ugly, entirely the point. Day 9: blind contour twice, then one slow "peeking" contour. Day 10: negative space — draw only the gaps in a chair's frame. Day 11: negative space on a houseplant. Day 12: measuring — pencil at arm's length, map a doorway and window in proportion. Day 13: slow contour of a shoe, segments plus measuring. Day 14: rest. |
| 3 | Value | Day 15: five-step value scale, three times. Day 16: sphere from one light source — highlight, halftone, core shadow, cast shadow. Day 17: box and cylinder, same light. Day 18: crumpled paper ball (the classic drapery starter). Day 19: egg or fruit on the table by a window. Day 20: two-object still life, values only, no outlines. Day 21: rest. |
| 4 | Construction, copying, one finished piece | Day 22: boxes in one-point perspective; turn three into furniture. Day 23: cylinders into mugs, cans, lamps. Day 24: copy a master drawing or a favourite artist, with margin notes.[13] Day 25: shoot your own reference photo, thumbnail it three ways small. Day 26–27: the finished piece from your reference, unhurried, two sessions. Day 28: copy day two, different artist. Day 29: redraw Day 1's mug. Day 30: line up Day 1 and Day 29, photograph both, and look. |
Part Nine: Surviving the Ugly Pages
Every beginner hits the same wall around day four: your taste is decades ahead of your hand, so everything you make disgusts you a little. That gap between taste and skill is not evidence you lack talent. It is evidence you have standards, and it closes from the skill side only through volume.
Keep every page — tearing out bad pages deletes your progress data. Date everything. Photograph the work on days 1, 10, 20, and 30; you cannot see daily improvement, but you cannot miss ten-day improvement. And the sketchbook is private by default: nothing has to be posted, ever.
Two pieces of consolation science for the worst evenings. Forty-five minutes of art making measurably lowered cortisol in a majority of adults regardless of skill or experience — the nervous system does not grade the drawing.[14] And drawing is not just output: sketching something is one of the most reliable ways to remember it, roughly doubling recall compared with writing words down.[15] The ugly pages are still doing quiet, useful work.
Part Ten: Troubleshooting
| Problem | What is happening | Fix |
|---|---|---|
| My lines are shaky and scratchy. | Drawing from the wrist, hovering, and sketching in feathery strokes. | Draw from the shoulder for long lines. One committed stroke beats five whispers — that is what the pen days train. |
| Proportions are always off. | Detail-first drawing. You rendered an eye before placing the head. | Biggest shapes first, measured against each other, details last. Negative space and measuring days retrain this. |
| Blind contour feels ridiculous. | It is. It is also the fastest way to force real looking.[6] | Do it anyway; nobody sees these pages. The peeking version follows once looking becomes the default. |
| I skipped four days and want to restart the whole plan. | All-or-nothing thinking, the classic habit killer. | Missing days does not undo formation.[12] Resume at the day you left. Restarting from day one is procrastination wearing a discipline costume. |
| Everyone online is better than me. | You are comparing your day 12 to someone's year eight, filtered. | Compare to your own day 1 photo, and mute art feeds for the month if needed. The only competitor in this plan is the earlier page. |
| I want to draw people and this plan is mugs and boxes. | Impatience — reasonable, but faces are built from exactly these skills. | Add gesture: thirty-second figure poses from photo sites, five per day, loose and unprecious.[6] Portraits land in month two, on schedule. |
Part Eleven: After Day Thirty
The plan ends; the practice should not. Month two is where you point the machinery at what made you want to draw in the first place.
| If you want to draw… | Month-two focus | Built on |
|---|---|---|
| People and faces | Head construction (the sphere-and-jaw approach), features one at a time, daily thirty-second gestures.[6] | Construction, gesture, measuring. |
| Places and buildings | One- and two-point perspective properly, then sketching from your own doorway photos. | Boxes, measuring, the reference library. |
| Animals and nature | Shape-first animal studies from your photos; value studies of foliage masses, not leaves. | Shapes, value, reference. |
| Comics and characters | Keep copying artists you love with margin notes,[13] plus figure gesture for poses. | Copying, line control, gesture. |
Keep the same chassis regardless: twenty minutes, the anchor slot, the session loop, the log line, the ten-day photos. Only the middle twelve minutes changes. If the habit ever collapses for a month — holidays, illness, life — restart with a seven-day version of week one. The skills keep; the warm-up just needs re-warming.
What You Get Back
Thirty days in, you will not be an artist, and that was never the deal. You will be someone whose lines land where they aim, who can shade a form so it sits on the table, who has one finished drawing and twenty-nine dated pages of proof — and who has quietly acquired a portable, screenless, unmonetized way to pay attention to the world. Most adults have not looked at anything — really looked, the way a slow contour forces — since childhood. That is what came back. The drawings are the receipt.
Put a pencil, a ballpoint, and any paper on the table where tomorrow's twenty minutes will happen. Then draw one page of lines and ellipses — badly, tonight, before the standards committee in your head convenes. Day one is already done.
References
[1] StormIt, "How To: The Practical Methods Library."
[6] K. Nicolaides, The Natural Way to Draw: A Working Plan for Art Study. Boston, MA: Houghton Mifflin, 1941.
[7] B. Edwards, Drawing on the Right Side of the Brain, 4th ed. New York, NY: TarcherPerigee, 2012.